Pánové tohle je PAN MODELÁŘ, ne lepič plastikových modelů! Colomban MC-15 CriCri z dílny Thomase Brückelta! Za článek a fotografie velmi děkujeme!
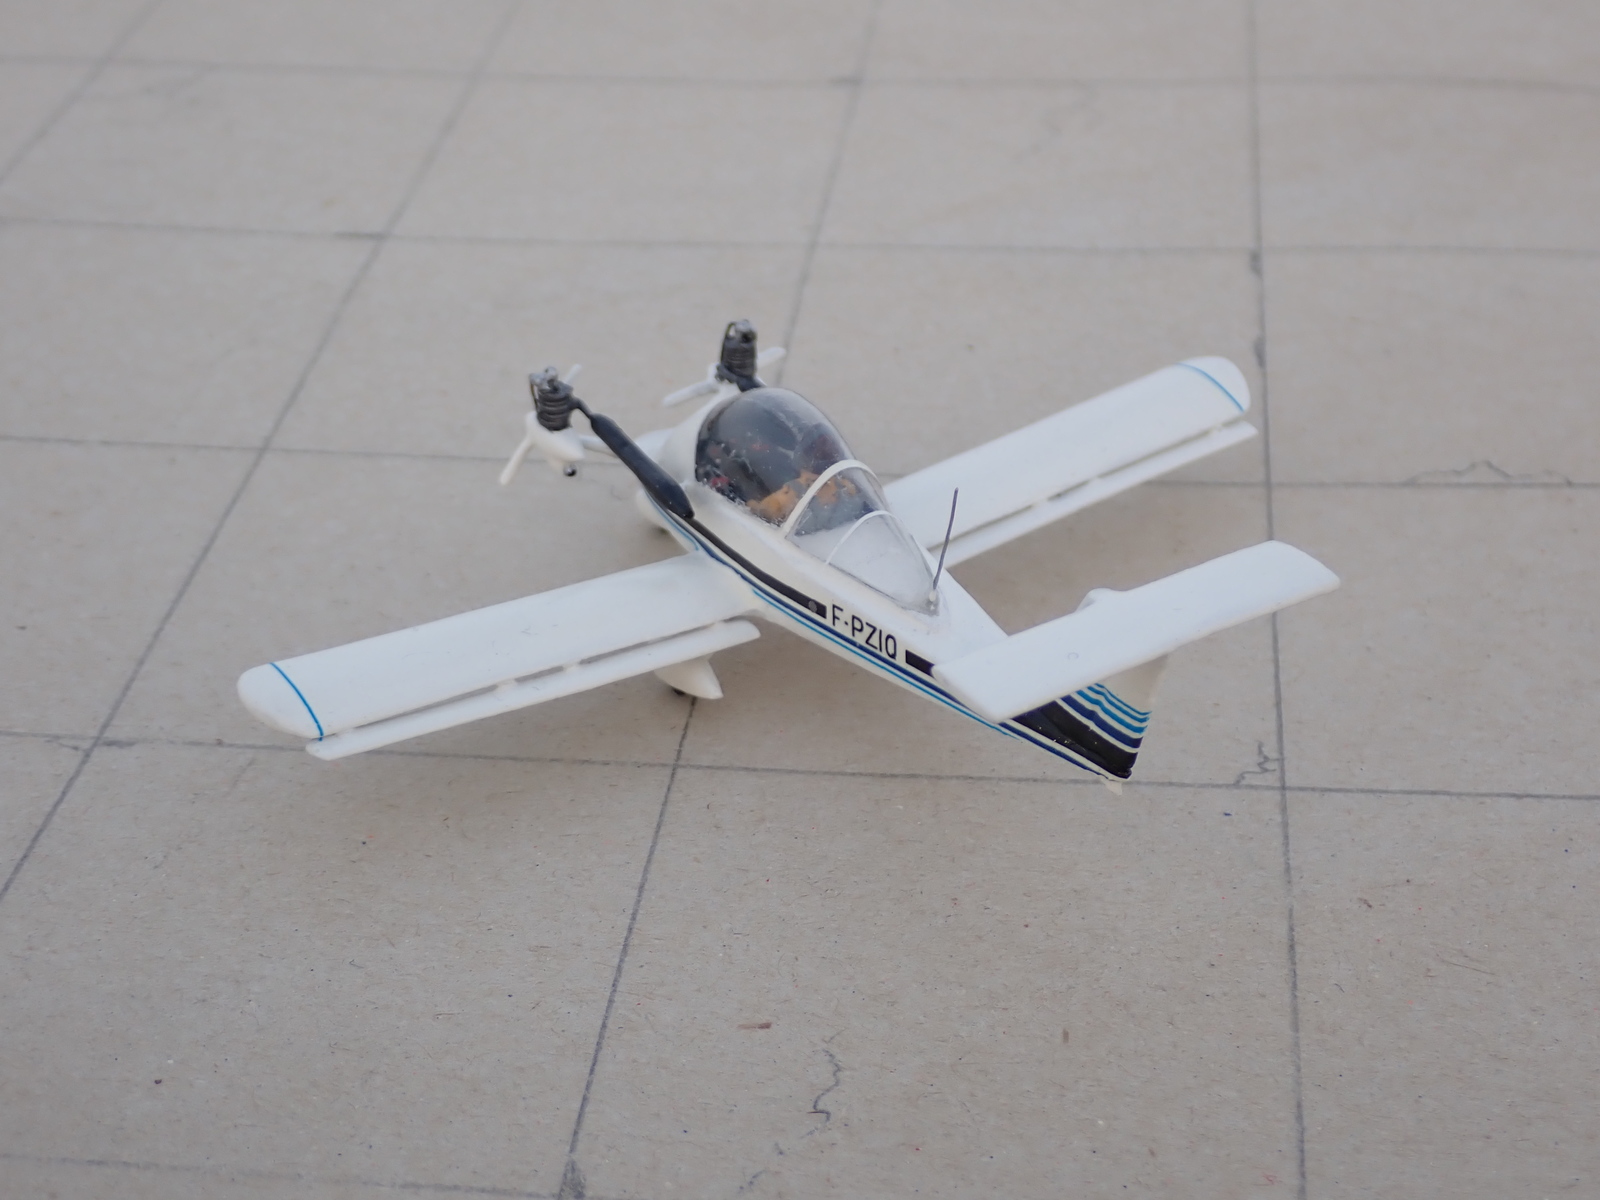
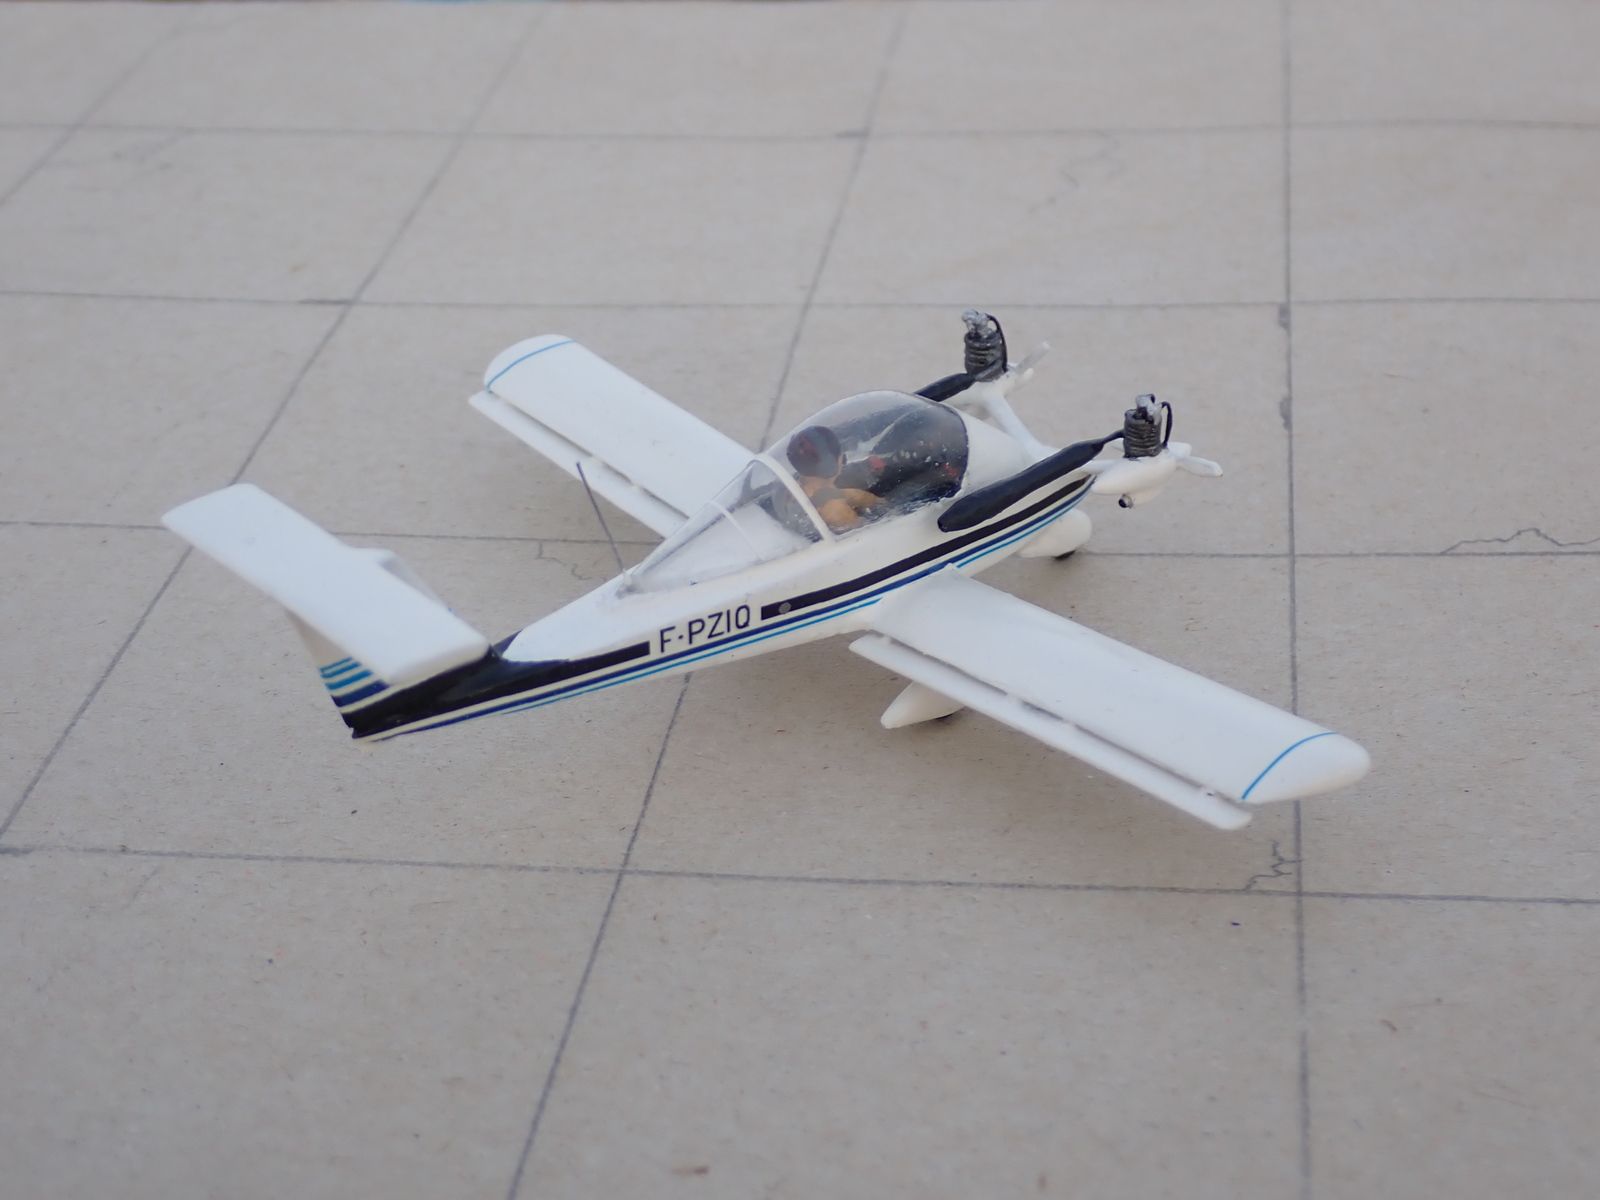
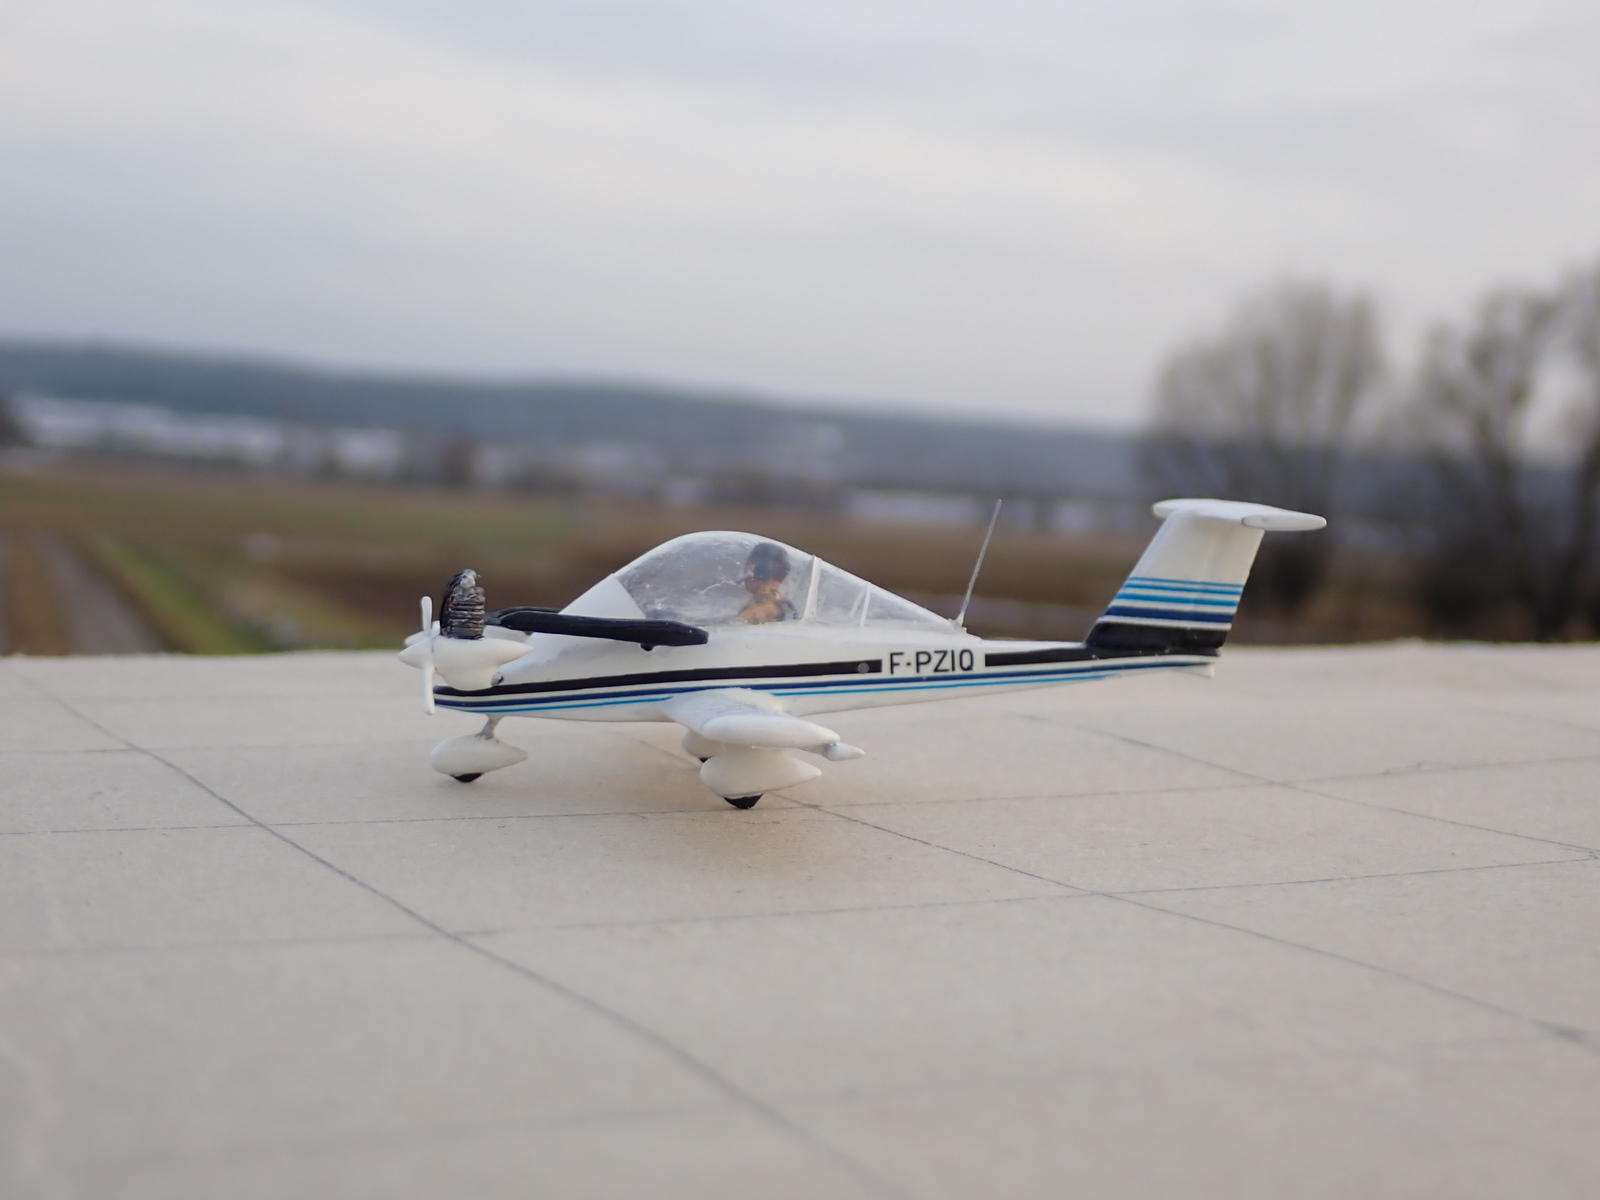
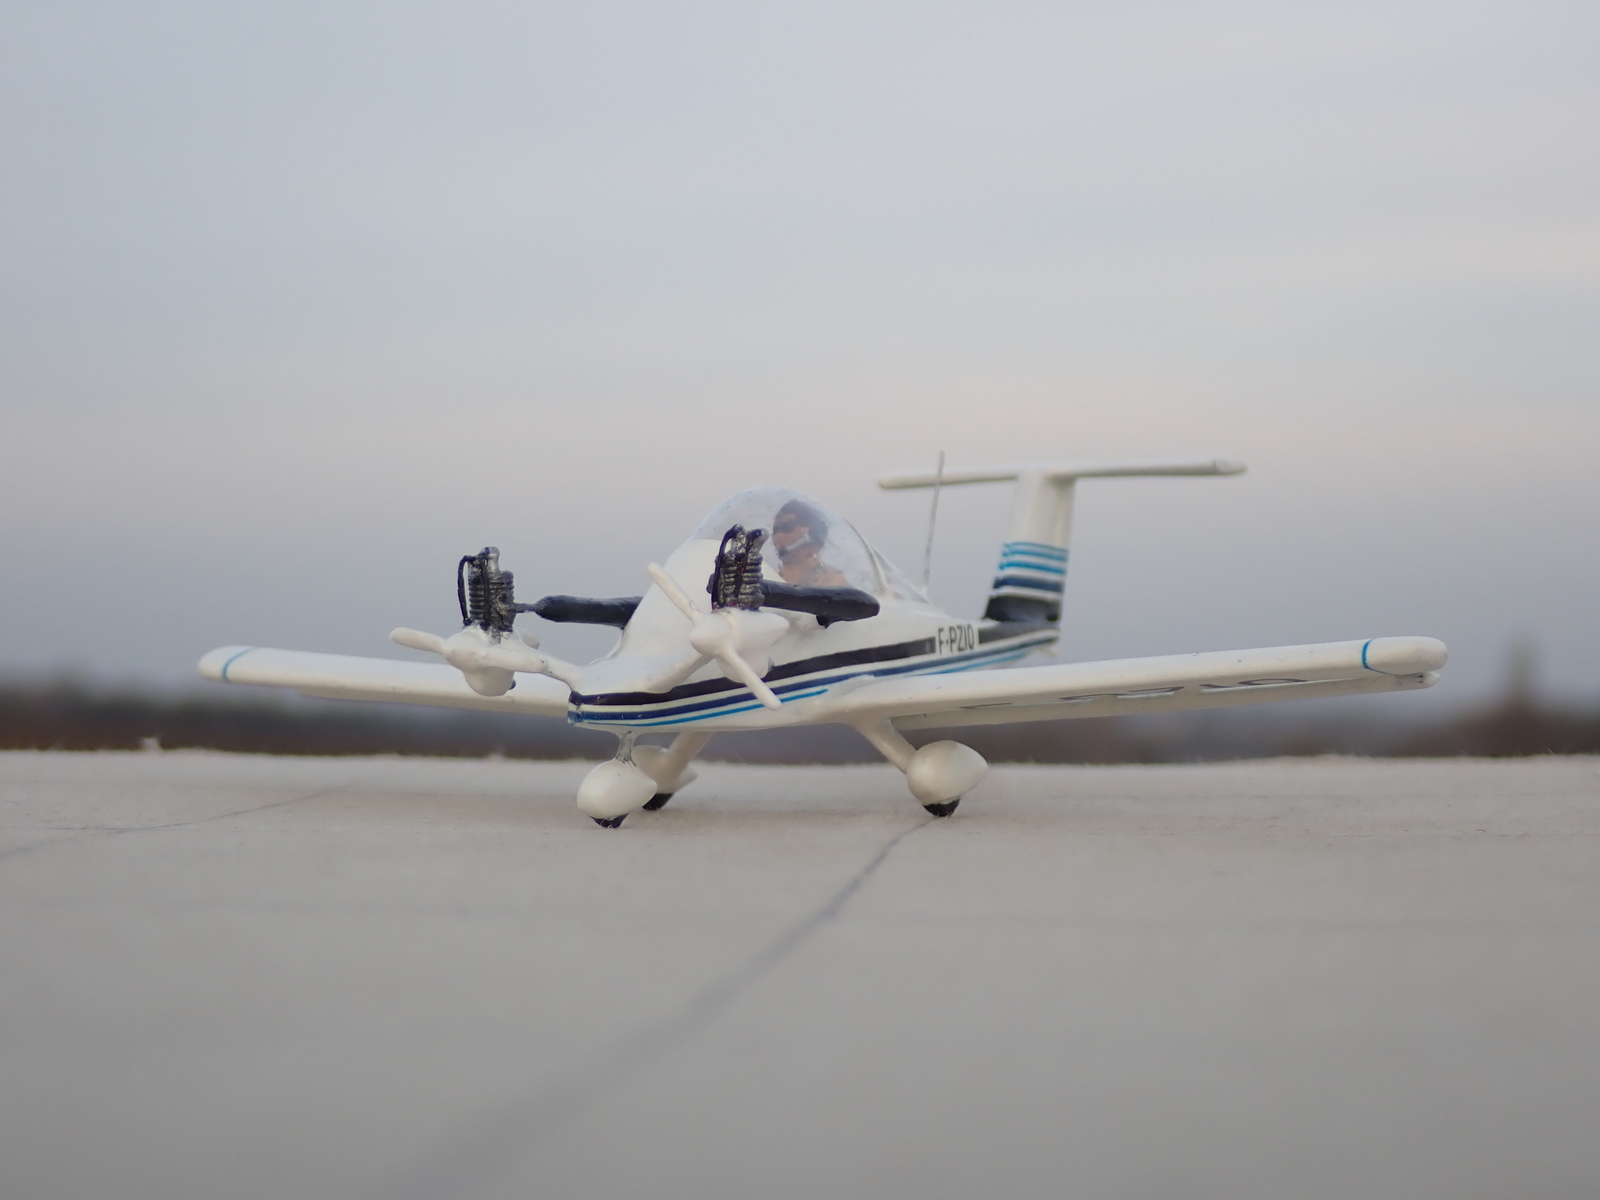
CriCri vypadá velmi vtipně, proto jsem chtěl mít toto nejmenší dvoumotorové letadlo ve své sbírce modelů. Našel jsem si ke stažení model v měřítku 1:72 pro 3D tisk a zvětšil jsem ho na 1:48.
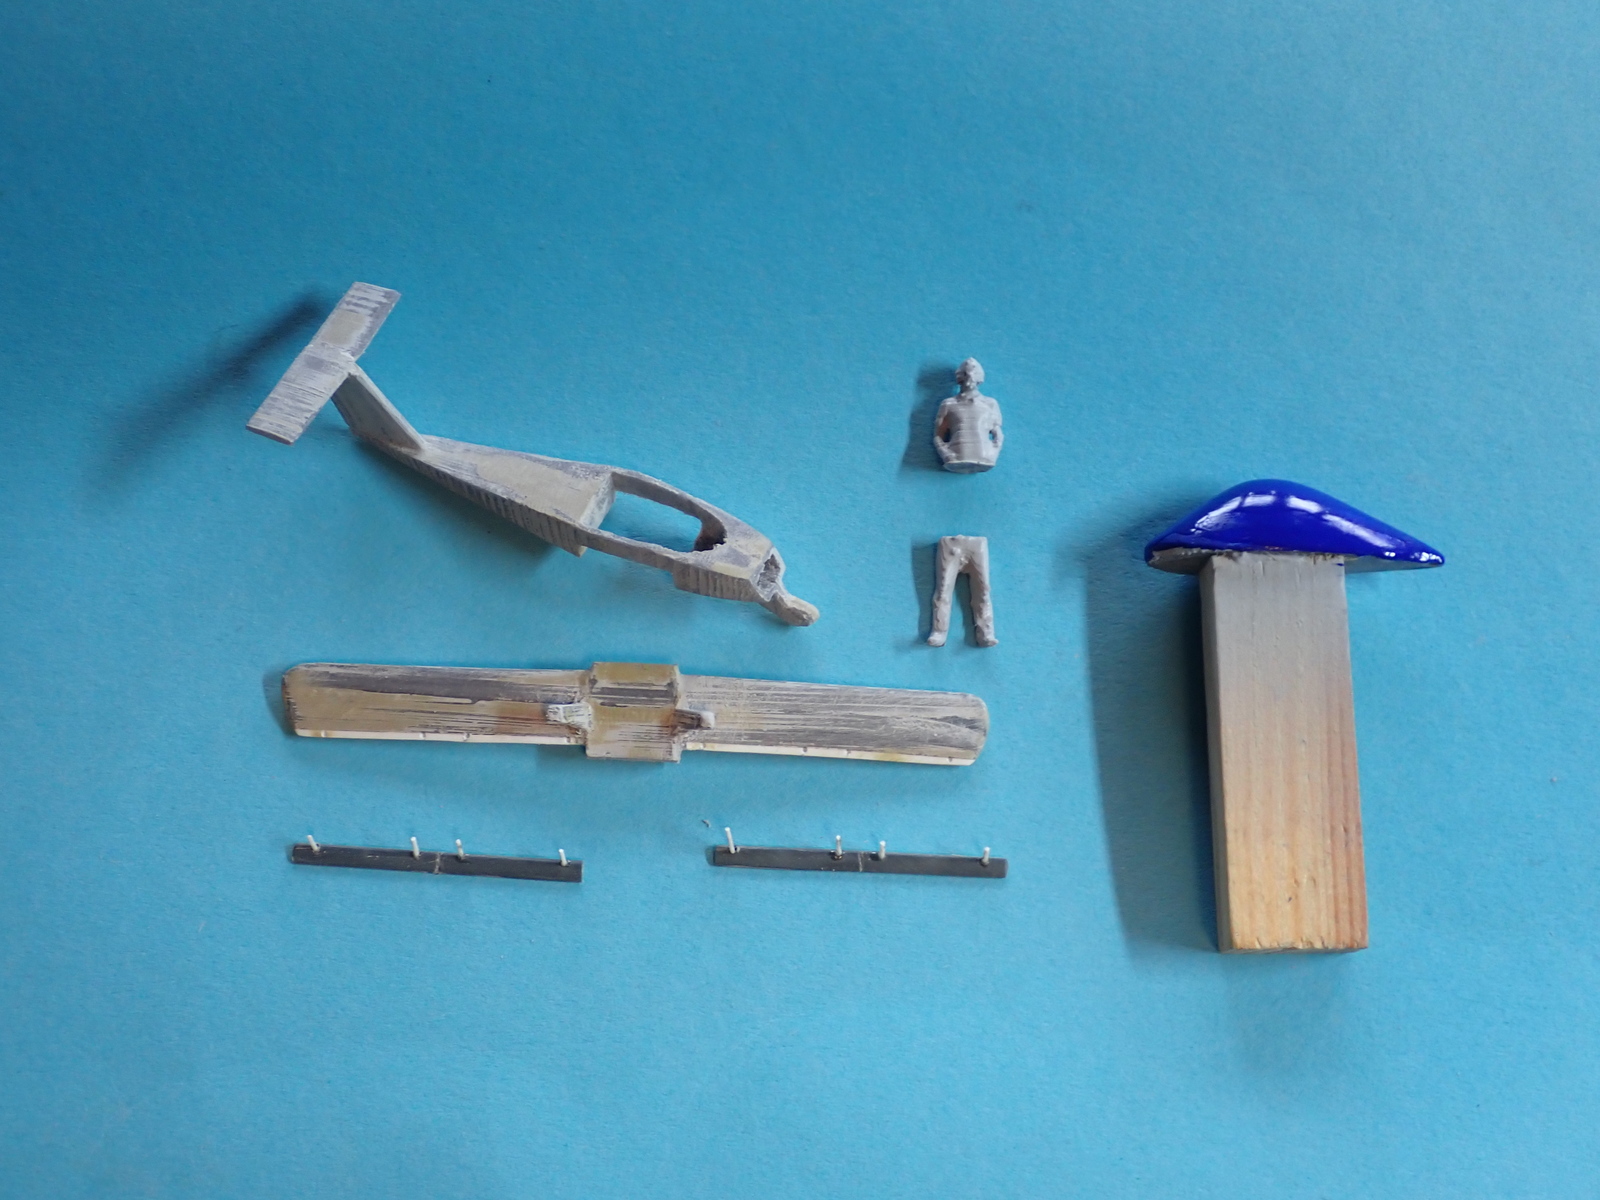
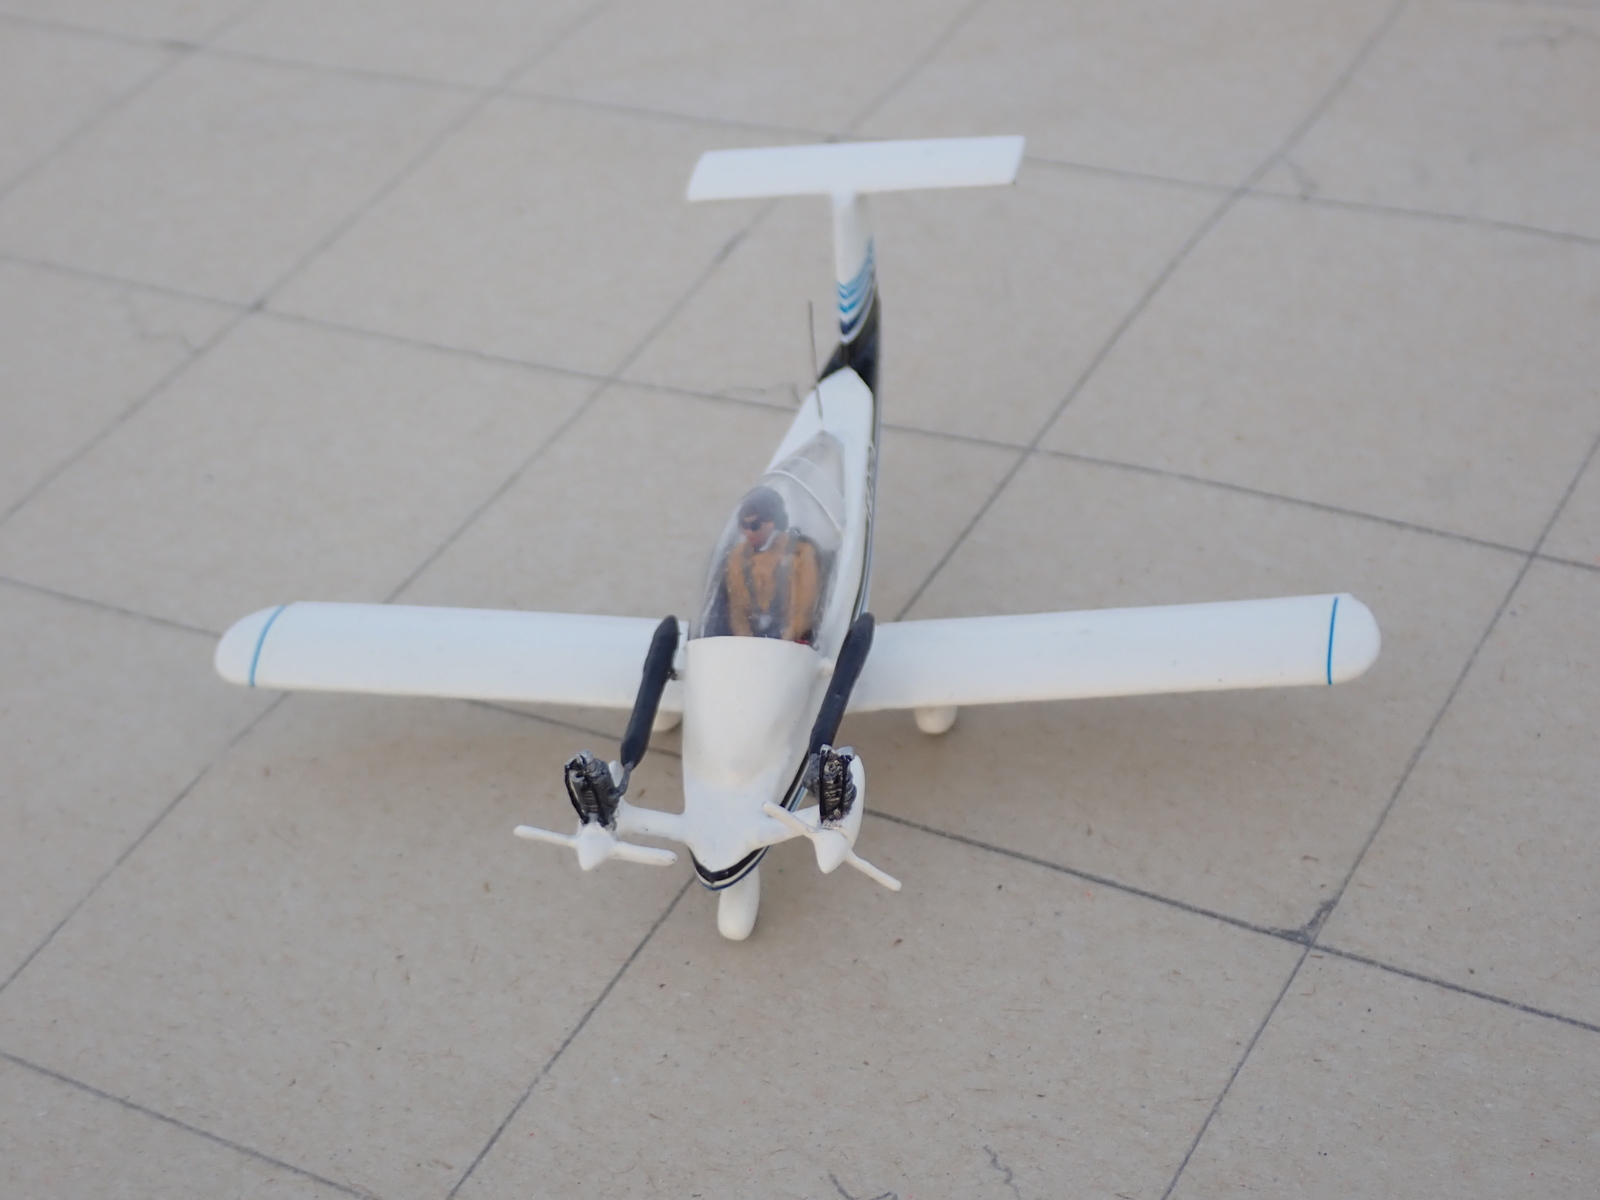
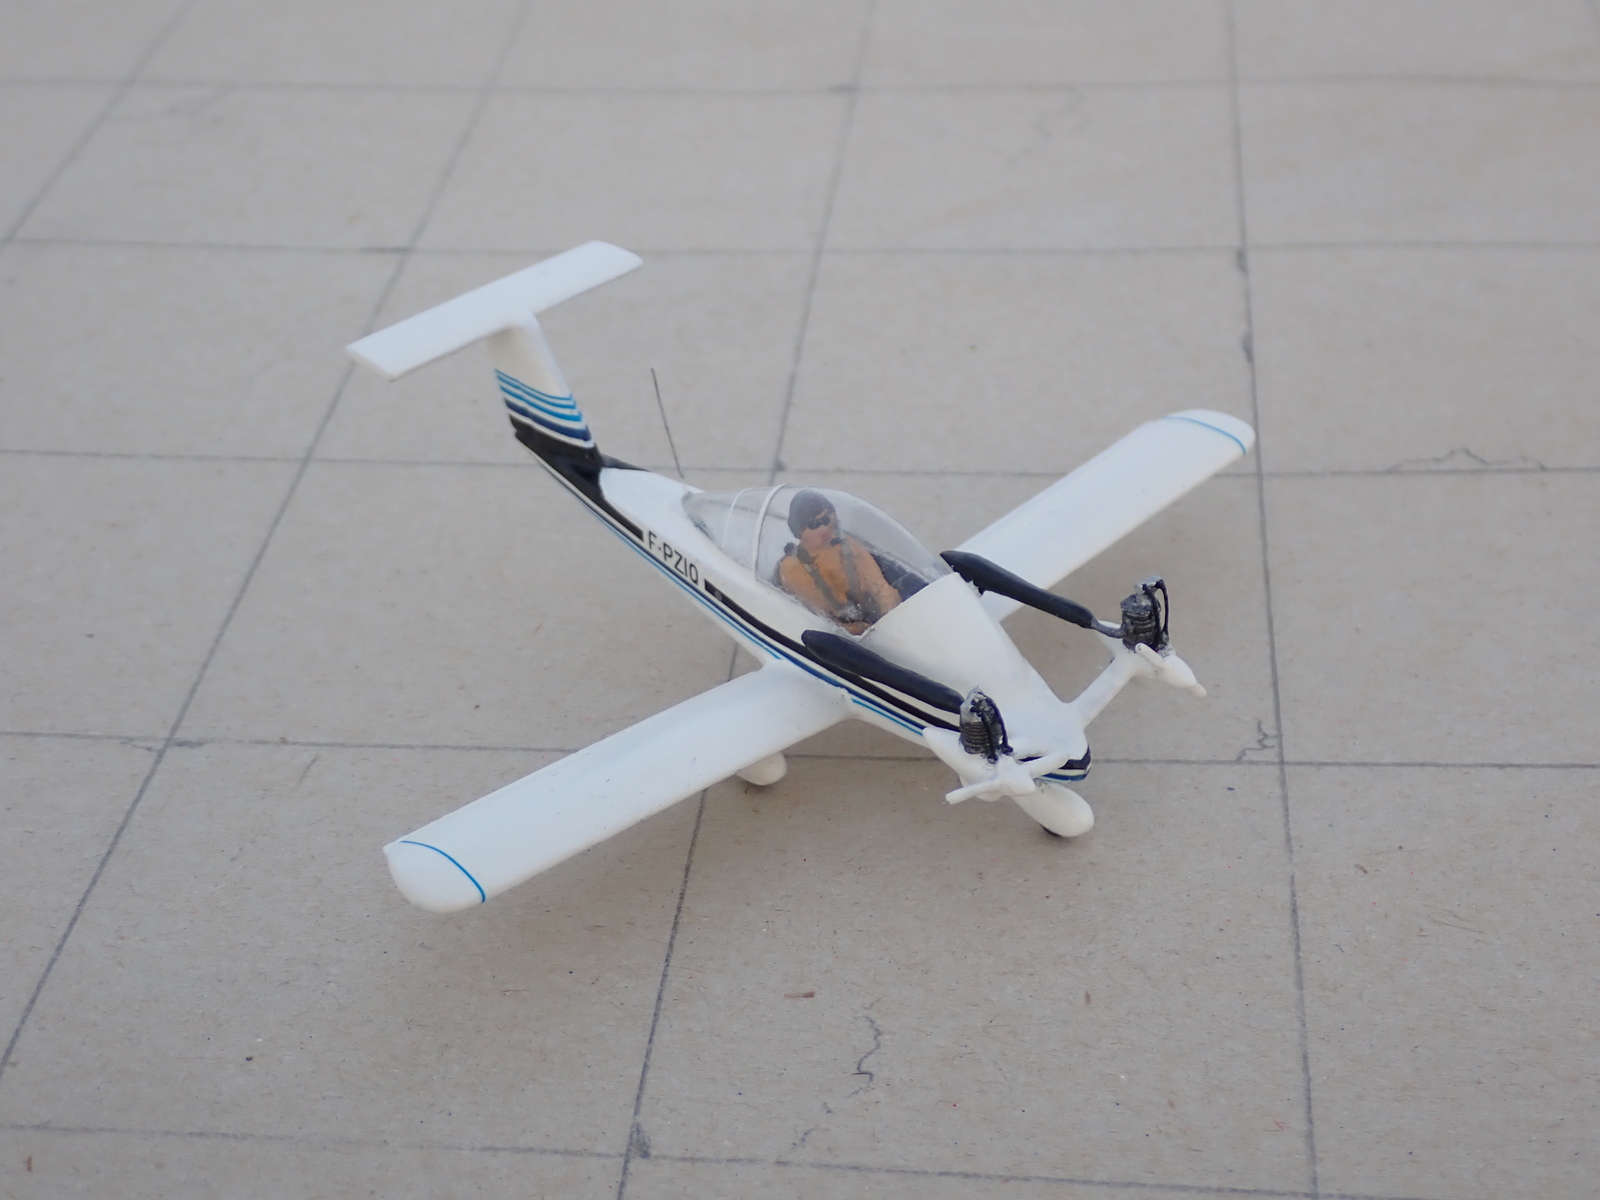
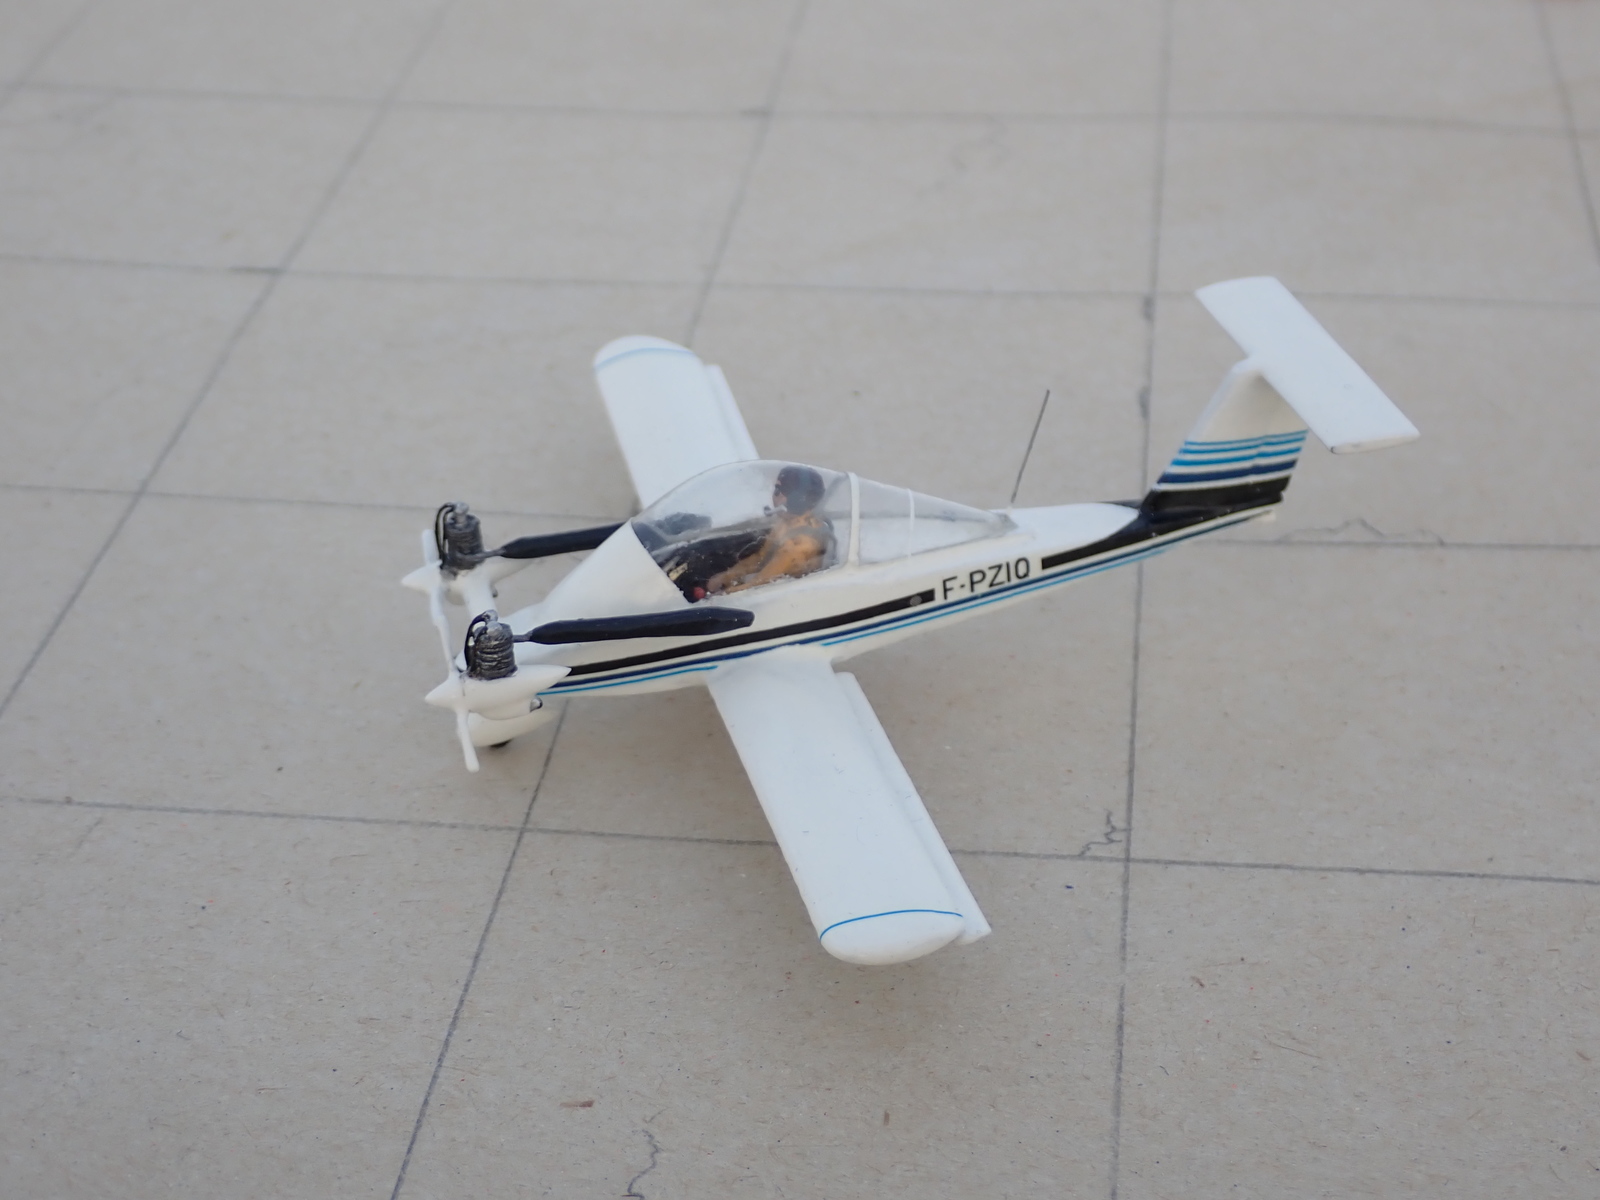
Samozřejmě spoustu detailů jsem musel postavit od začátku. Vyrobil jsem kopyto na vacu kabinu a doplnil všechny detaily a figurku pilota, která je také vytištěná na 3D tiskárně, protože mi nezbyla žádná odpovídající figurka z jiných stavebnic. Výfukové trubky a válce jsem si navrhl sám v CADu a vytiskl je. Protože používám filamentovou tiskárnu, musel jsem všechny povrchy vyhladit. Trochu složitější bylo umístit dostatek olova do přídě, aby se nezadrhával ocas. Využil jsem veškerý prostor v nose, ale nestačilo to. Nakonec jsem musel do spodní strany přední části trupu vyvrtat otvory a vlepit do nich malé kousky olova. Poté jsem použil tmel, aby byl povrch opět hladký. Nátěr F-PZIQ se mi líbil, a tak jsem kreslil obtisky podle obrázků, které jsem našel na internetu. Model jsem natřel emaily od Revellu (štětcem) a zalakoval hedvábným, bezbarvým lakem od Mr. Hobby.
Gentlemen, this is a MODELER, not a gluer of plastic models! Colomban MC-15 CriCri from Thomas Brückelt’s workshop! Thank you very much for the article and photos!
I find the CriCri looks very funny, so I wanted to have this smallest twin engine plane in my model collection. I found a download model in 1:72 for 3D printing and sized it up to 1:48. Of cause a lot of details had to be built from scratch. I made a mould for a deepdrawn canopy and added all the details and a pilot figure which is also 3D-printed, as I had no matching figure left from any other kits. The exhaust tubes and the cylinders I designed by my own on CAD and printed them. As I use a filament printer, I had to smooth all the surfaces. A bit tricky was it to place enough lead in the nose, so that it´s not getting a tailsitter. I used all the room in the nose, but it was not enough. Finally I had to drill holes into the lower side of the front fuselage and glued little pieces of lead inside. After that I used putty to get the surface smooth again. I liked the painting of the F-PZIQ, so I was drawing decals according to the pictures I found in the internet. The model was painted with enamels from Revell (brush) and sealed with silk, clear varnish from Mr.Hobby.